
Foundation: Galactic Frontier Fleet Planning Tools
Frameworks to theorycraft Flagship formations before you spend blueprints.
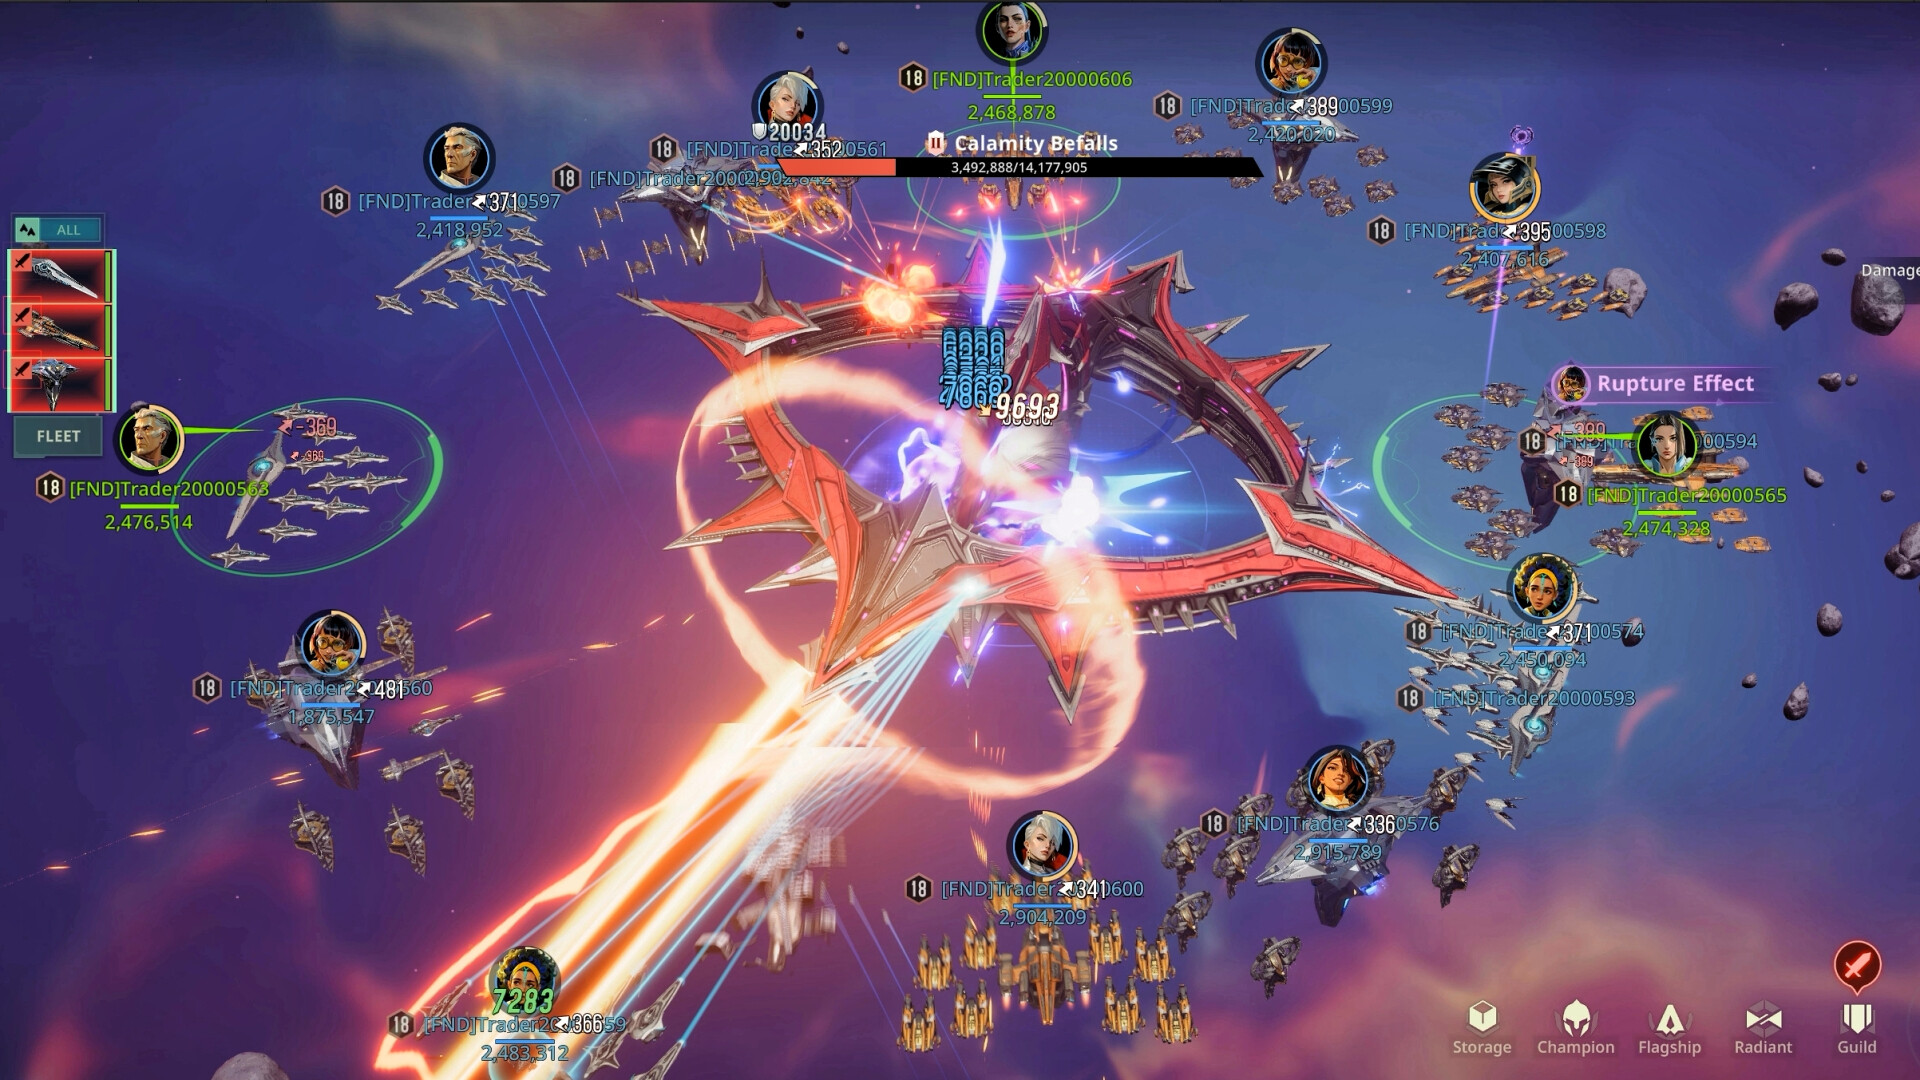
The Tools Hub is where Foundation: Galactic Frontier Commanders plan fleet formations before committing rare blueprints, catalysts, and Commerce Guild currencies. The game’s RTS layer runs on Flagships—Gram (Beam), Demerzel (Ion), Opportunity (Kinetic), and later Gungnir—backed by Champion crews and Energy Core gates. Use the frameworks below as a planning board; pair them with live rankings on the Tier List Hub and roster notes on the Players Hub.
Interactive calculators may appear here as child pages later. Until then, this hub gives you a complete paper-planning method that mirrors how strong guilds think about multi-fleet wars on Siwenna.
Formation planner page
- Fleet Formation Guide — match Champions to Flagship energy cores, ATK vs INT seating, multi-fleet tips
- Flagship Tier List — investment order
- Flagships Guide — Gram, Demerzel, Opportunity, Gungnir
Why plan formations at all?
Random Flagship upgrades create mono-doctrine accounts that fold when an event favors a missing damage type. Planning forces three questions:
- Which doctrines (Beam / Ion / Kinetic) can I field this week?
- Which Champions actually scale those Flagships?
- Can those fleets enter the systems my guild is contesting given Magnetic Resistance?
If the answer to (3) is no during Season 2, fix Resistance buildings before another promotion star—see the Updates Hub.
Formation canvas (copy into notes)
For each fleet slot you own, fill:
| Field | Example |
|---|---|
| Fleet # | Fleet 1 |
| Flagship | Gram |
| Doctrine / energy core focus | Beam |
| Champion slot 1 | Carry aligned to Flagship scaling |
| Champion slot 2 | Flex DPS / survival |
| Champion slot 3 | Utility / support |
| Goal | Daily PvE / port take / storm push |
| Resistance ready? | Yes / No |
Repeat for Fleets 2–4 as Energy Core and server age unlock them. Community notes often tie extra fleets to high Core thresholds—confirm in-client before assuming a fourth march is available.
Doctrine coverage template
Aim for at least one workable fleet in each doctrine as soon as blueprints allow:
- Beam — Gram — Beginner Flagship; default first canvas. Practice formations here while learning RTS micro.
- Ion — Demerzel — Second canvas for Ion-favored content and ATK-leaning crews.
- Kinetic — Opportunity — Third canvas so guild calls never strand you without Kinetic answer.
- Late — Gungnir — Add when unlocks and Core permit; do not gut Gram/Demerzel funding to rush it.
Mark each canvas S/A/B readiness using the Tier List so you know which fleet marches first in a multi-objective window.
Champion crew planner
Ground TPS squads and fleet crews share the Champion pool. A practical rule:
- Reserve your best-geared trio for the Flagship you march most.
- Keep a documented bench for the second fleet instead of improvising from naked Champions.
- When Season 2 adds Champions such as Killer Bee, run them through the Players Hub checklist before rewriting every canvas overnight.
Write skill-level targets beside each name (for example “skills 4/4/2”) so Commerce Guild shop buys have a purpose.
Season 2 overlay on the planner
Add two extra columns during Usurper Rebellion / Siwenna:
- Magnetic Resistance of the account (not per ship fantasy numbers—your real total).
- Mission type (exploration, occupation, tribute vessels, guild duel).
Fleets assigned to high-storm systems without Resistance are dead weight. Pair this Tools Hub with Resistance building advice in Updates and mothership order in Getting Started.
Resource spend order tied to tools
- Energy Core queues (Speedups from Codes shine here).
- Flagship that fills your biggest doctrine hole.
- Crew gear for that Flagship’s primary trio.
- Resistance / seasonal buildings if Siwenna is live.
- Secondary fleets and Gungnir.
If a planning session says you need three doctrines tomorrow but Core is twelve hours from a gate, finish Core first—the wiki’s #1 rule still stands.
How guild officers can use this hub
Officers can ask members to paste the formation canvas into Discord with Flagship names only—no need to share account security info. Compare doctrine coverage across the Commerce Guild before declaring a port timing. Players who only sail Gram while the enemy brings Ion and Kinetic answers will bleed occupation points.
Related pages
- Tier List Hub — which Flagships and Champions deserve the canvas slots
- Players Hub — recruitment and TPS squad building
- Guides Hub — systems walkthroughs
- Updates Hub — Season 2 rules that change the planner
- Codes Hub — Speedups to execute the plan
- Links Hub — official clients and support
Bookmark this Tools Hub beside Tier List. Five minutes of formation planning saves days of mis-spent blueprints when the next Magnetic Storm window opens.
Frequently Asked Questions
Quick answers for Foundation: Galactic Frontier traders.
What should a Foundation: Galactic Frontier fleet planner include?
Flagship, doctrine (Beam/Ion/Kinetic), three Champion crew slots, mission goal, and—during Season 2—whether your Magnetic Resistance can support that march.
Which Flagships belong on the planning board first?
Gram (Beam), Demerzel (Ion), and Opportunity (Kinetic). Add Gungnir when Energy Core and unlocks allow without starving the first three.
Do these tools replace the in-game formation UI?
No. They are planning frameworks so you decide upgrades before spending. Execute the final loadout inside the client.
How does Season 2 change fleet tools?
Siwenna Magnetic Storms make Resistance a first-class planning field. A strong Flagship that cannot enter the target system should not be your primary march.
Where do I check if my Champions match a Flagship?
Use the Players Hub for roster building and the Tier List Hub for investment priority, then record the final trio on this Tools canvas.