
Foundation: Galactic Frontier Fleet Formation Planner Guide
Seat the right champions on Gram, Demerzel, Opportunity, and Gungnir—by energy core and scaling stat.
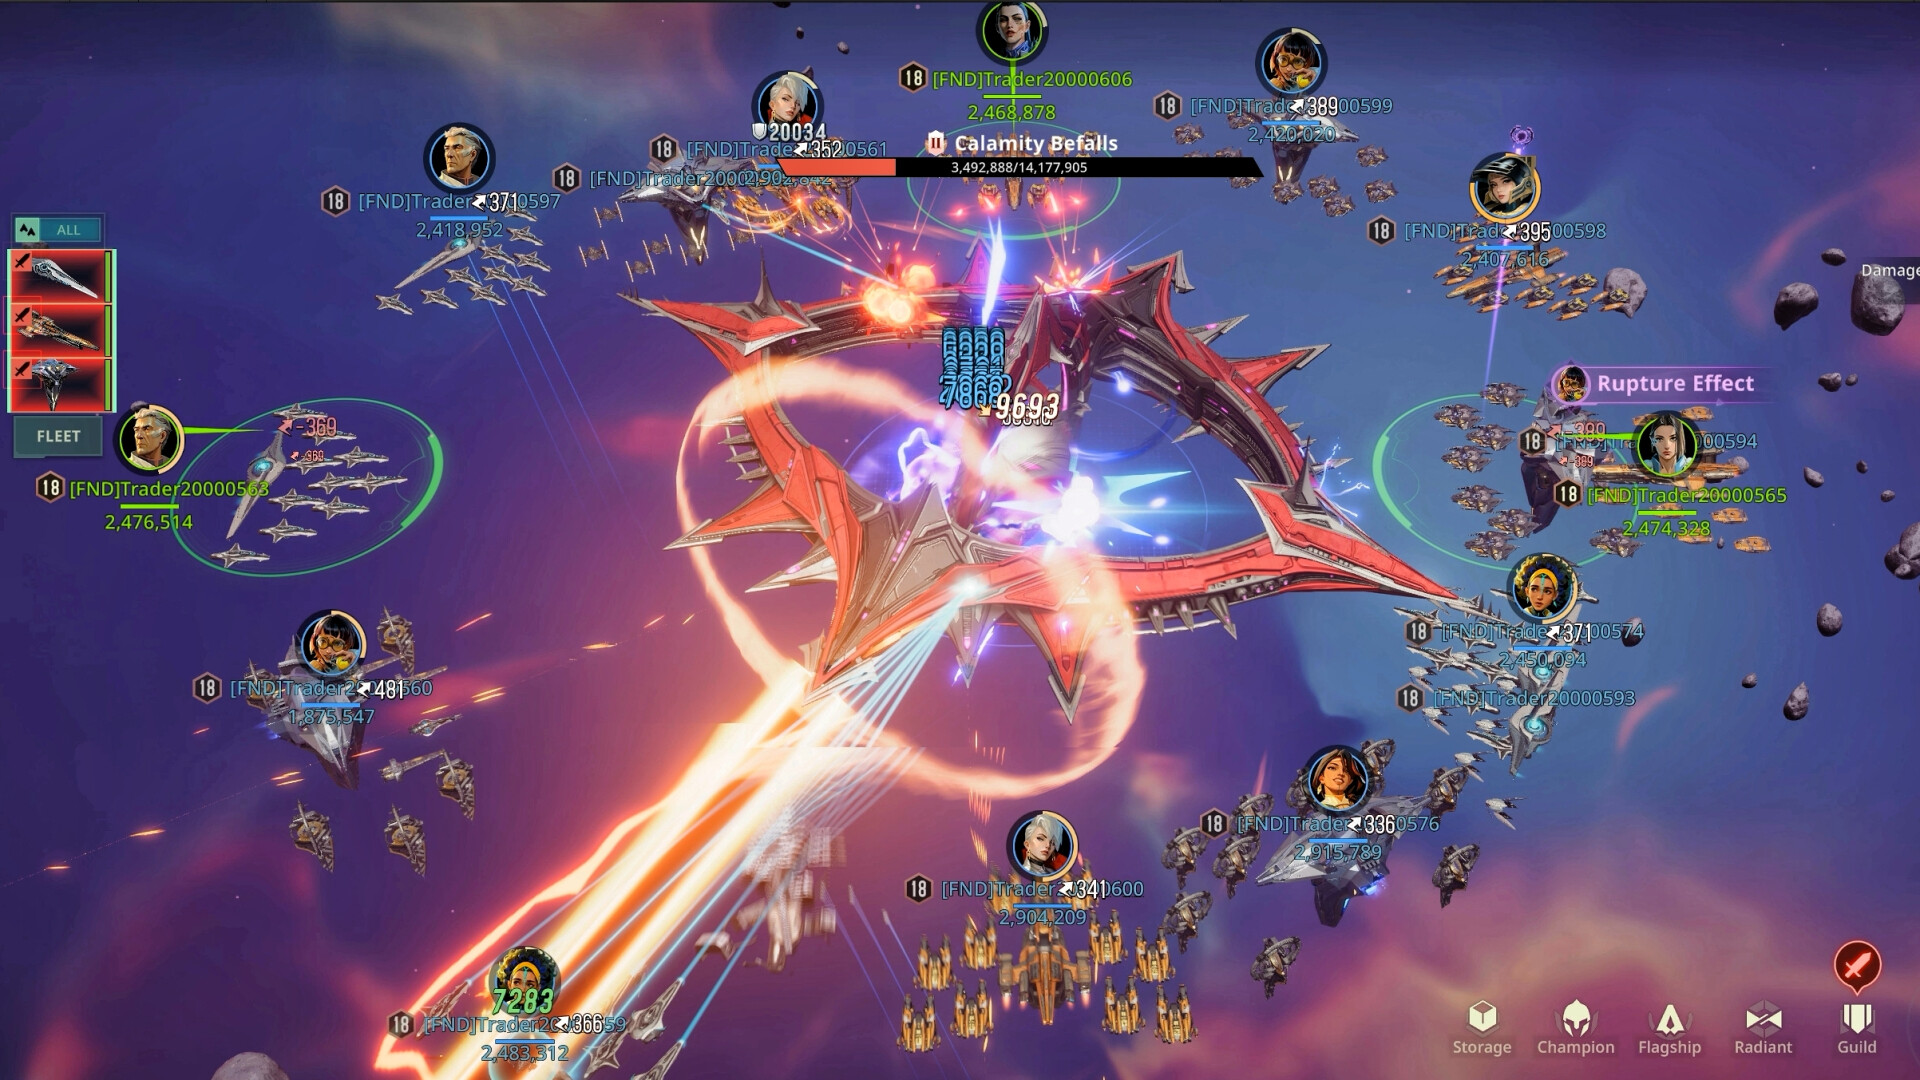
This Fleet Formation guide is a practical planner for Foundation: Galactic Frontier space fleets. It will not replace live calculator widgets, but it gives you the decision rules those tools encode: match champion energy types to the flagship energy core, respect ATK versus INT scaling on each hull, order seats so lead buffs land correctly, and split power across multiple fleets without starving your main.
Use it with Flagships for hull skills, the Flagship Tier List for investment priority, the Champion Tier List for who deserves fragments, and the Tools Hub for related planners.
Step 0 — inventory before theory
Write down:
- Which flagships you own and their promotion level.
- Which energy core is installed on each (Beam / Ion / Kinetic)—remember cores can be changed.
- Every raised champion’s type, approximate stars/promotions, and whether they scale as ATK, INT, or lead-INT in community builders.
- How many fleets you must sortie at once (story, shrines, rallies, multi-fleet events).
Formation mistakes usually come from seating a strong hero on the wrong core or splitting fragments across four half-built fleets.
Rule 1 — one energy type per flagship
Champions and ship bonuses reward pure Beam, pure Ion, or pure Kinetic crews. Mixed trios throw away resonance value. If you only have two strong Beam officers, better options are:
- Run a 2+1 temporary seat with a farmable Beam epic/legendary filler, or
- Change plans and build the type where you already own three raisable names.
Season 2 Beam additions (Ramos Moai, Teresa Lopez) make pure Beam fleets much easier on servers that have them. Ion still revolves around Ajita / Lily cores; Kinetic around Eva von Trier / Zora Domini style packages.
Rule 2 — match cores to the crew (not the default sticker)
New accounts often leave:
- Gram → Beam
- Demerzel → Ion
- Opportunity → Kinetic
That is only the unlock default. Swap the core so the hull’s damage type matches the three champions you can actually promote. A Kinetic Gram with Eva-led crews is a standard community pattern; Beam Gungnir with Ramos/Teresa/Evan is a Season 2 rally pattern; Ion Demerzel with Ajita remains a control staple. The Flagship Tier List explains when to prefer each hull’s kit.
Rule 3 — ATK vs INT scaling (community builder notes)
Flagship skills do not all care about the same captain stats:
| Flagship | Common scaling note | Formation implication |
|---|---|---|
| Gram | Scales off INT | Prefer intellect-friendly Kinetic (or other) packages; leads that buff INT help the ship skill loop (healing/energy patterns). |
| Demerzel | Scales off ATK | Seat ATK-leaning champions; great when you want control plus attack-fed ship skills. |
| Opportunity | Scales off ATK | Same ATK seating logic for trade/secondary fleets. |
| Gungnir | No classic ATK/INT ship scaling | Optimize for champion cast loops, modules, and craft; park your strongest matched trio here for rallies. |
When a builder marks a champion as Lead INT, put them where their buff hits the ally who needs intellect next—especially on Gram. ATK leads belong on Demerzel/Opportunity chains. Always re-check skill tooltips after promotions; numbers change even when the rule of thumb stays.
Seat order — a simple planner template
For each fleet, fill this card:
- Hull + core — e.g., Gram / Kinetic, Gungnir / Beam.
- Seat 1 (lead) — buffer or defender whose skill helps seats 2–3 (Teresa-style mitigation on Beam; Ajita on Ion; Eva shred/INT lead patterns on Kinetic).
- Seat 2 — secondary DPS or sustain that extends the lead buff window.
- Seat 3 — primary finisher (Ramos, Evan, Zora, Lily, Killer Bee, etc.).
- Artifacts / skill priority — finish the breakpoints that unlock the kit you are counting on before horizontal gear.
Example Season 2 Beam rally fleet: Gungnir (Beam core) → Teresa Lopez (defense lead) → Ramos Moai (ATK DPS) → Evan Rogers or Aliya/Doug depending on ownership. Example Kinetic farm fleet: Gram (Kinetic core) → Eva von Trier (lead) → Zora Domini → Cocoon/Kama filler. Example Ion control fleet: Demerzel (Ion core) → Ajita → Lily → Jodie/Cocoon.
Copy the template into a note and update it when banners land.
Multi-fleet tips
- Fleet 1 should be the only fully fed team until it clears your hardest daily PvE checks.
- Fleet 2 starts when multi-fleet content or map pressure demands a second typed core—usually the opposite of fleet 1 (if fleet 1 is Beam, fleet 2 is Ion or Kinetic).
- Fleet 3–4 (Opportunity and leftover hulls) use leftovers and farmable fragment heroes; do not equalize food with fleet 1.
- For rallies, move your strongest matched trio onto Gungnir when unlocked; leave Gram/Demerzel covering other lanes.
- Keep combat craft ratios in mind (balanced Ionic/Beam/Kinetic wings, or stacked counters). Formation seating does not fix a hangar that cannot strip shields.
Promotion and material triage
When the planner says two fleets need the same legendary, do not split stars evenly. Finish breakpoints on fleet 1, then borrow the hero only when the calendar forces two sorties—or raise a dedicated replacement of the same type. Universal fragments follow the same rule: one carry, not four.
Common failure modes
- Installing a Beam core but seating Kinetic legendaries “because they are higher tier.”
- Building Demerzel as primary without ATK-fed champions or enough promotion budget.
- Ignoring Gram’s INT relationship and wondering why ship skills feel weak.
- Parking Gungnir with an unmatched trio because the hull is “newer.”
- Rebuilding every week after reading a new list—change cores and seats deliberately, then test.
Weekly review loop
- Diff your roster against the Champion Tier List.
- Confirm hull priority on the Flagship Tier List.
- Read skill changes on Flagships after patches.
- Rewrite the four-line fleet cards above.
- Return to the Tools Hub when additional calculators or checklists are added.
Formations are a constraint puzzle: type match first, scaling second, tier third. Solve in that order and your fleets stay coherent even as Season 2 heroes and new hulls arrive.
Frequently Asked Questions
Quick answers for Foundation: Galactic Frontier traders.
Can I mix Beam and Kinetic champions on one flagship?
You can seat them, but you lose the matching-type bonuses that strong fleets rely on. Run pure Beam, Ion, or Kinetic trios whenever possible.
Does Gram always need a Beam core?
No. Cores are swappable. Many Kinetic builds use Gram specifically because of its INT-oriented ship kit and sustain, while Beam crews may move to Gungnir or Opportunity.
How should I seat champions on Demerzel versus Gram?
Follow type matching on both. Then bias Demerzel and Opportunity toward ATK-scaling crews and Gram toward INT-aware packages per common community builder notes.
Where does Gungnir fit in a multi-fleet account?
Use it as a rally or primary burst fleet with your strongest matched trio. It does not follow the same ATK/INT ship scaling rules as Gram, Demerzel, or Opportunity.
What is a good Season 2 Beam formation?
A common direction is a Beam-cored Gungnir or alternate hull with Teresa Lopez for defense/support and Ramos Moai (plus Evan Rogers or Aliya/Doug) for damage—adjust to ownership and promotions.
When should I start a second fleet?
After fleet 1 reliably clears your current PvE power checks and you need a second energy type for multi-fleet content or counters. Keep fragment priority on fleet 1 until then.